When I was contacted by Conti@Home asking me if I'd like to get involved in their blogger challenge to create a storage unit from a range of their boards, I immediately thought of creating a 4x4 boxed unit for my craft room.... which I don't need!
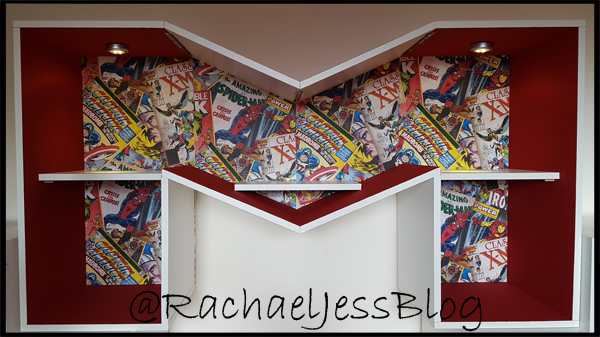
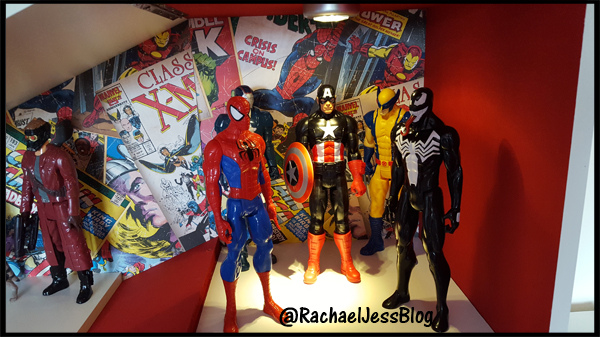
As I watched my son playing with his Marvel Titan figures I then knew exactly what "we" were going to make, and apparently set even a bigger challenge for my partner!
Measuring up
Titan figures are 12 inches and I wanted to be able to have 2 shelves with "headroom" for each figure, so I decided on having the shelves 400mm high (also the width of ContiBoard), making the overall height 800mm. Based on this information I knew I needed 3 ContiBoard packs.
We already have white units in the room so I went with Vanilla Ice for my colour choice.
These boards are very heavy! They are packed in pairs and I struggled to move them, not sure why this surprised me so, but at least with these boards, you know your finished product is going to be sturdy. I would advise creating, or at least putting your unit together in the room it will reside in!
A nice touch with the delivery is a grid sheet to help draw out your plans. I strongly advice using this even if you don't think you need to, as our shelving unit is complex we referred back to our plans often.
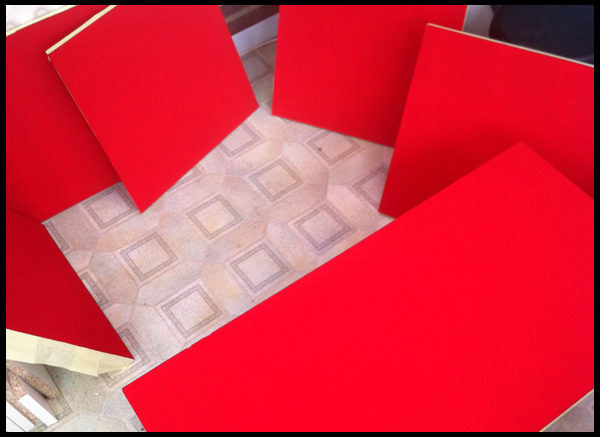
With our measurements drawn up, we set about cutting the board. We used a circular saw for this, and it cut through the wood perfectly and in no time at all we had all our boards cut and labelled with masking tape.
Once marked up, I used Marvel wallpaper and Mod Podge to cover the back panels and red paint for the inside panels - and that's when things start to get exciting!!
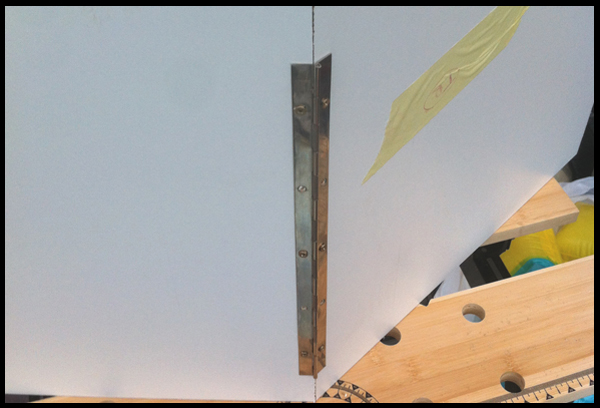
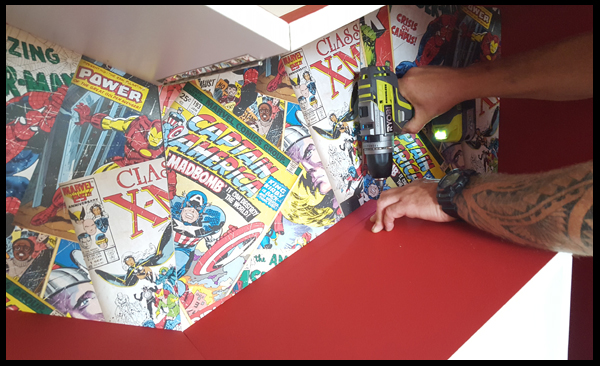
Before adding any shelves we put the whole piece together. For this we needed to screw it all together; this was the challenge. As the boards had been cut at 22.5-degree angles, it made screwing the whole piece together that bit more complicated.
The 2 rectangle ends of the M were fitted together with wood screws. The V in the middle was fitted with a hinge and gorilla glue, and then wood screws were used to fit onto each of the rectangle ends.
This is definitely a step to complete in the room the unit will be used in!
I have one very excited little boy.
I love our unit, and I'm so blessed to have a partner who pulled that image out of my head and created a fantastic Marvel Titan shelving unit thanks to ContiBoard panels.
What do you think, do you think its superhero standard?





No comments:
Post a Comment
Thank you for popping by - and even bigger thanks if you're showing me a bit of love by leaving a comment :D xoxo