Since my quest for finding the perfect
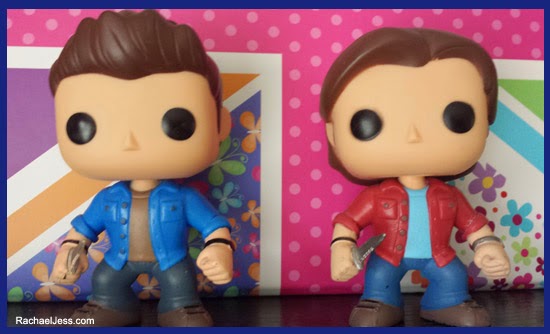
geek box subscription for us I have discovered the world of POP Vinyl and have found them slowly taking over the house on any shelf I can find!
 |
| Top of the blinds |
 |
| Canvas Prints |
 |
| The Wardrobe! |
As you can see they're popping.... up all over the place so I decided to make their own shelving so I can have them all in one place.
This really isn't difficult to do and does not need to be expensive. My nearest DIY store is B&Q so I picked up a couple of pieces of slim timber for £2.78 each, brackets for £2 and some screws. I then found the perfect piece of fabric on eBay to use, but decoupage or paint will work, it's a personal choice.
 |
| Making a shelf for my POP! Vinyl |
I started with painting the edges and then found out that my washi tape is the exact width of the edging!! Fabulous.
I used the wood as the template to cut the material and cut 2 stripes, one for each side so you can see the pattern rather than bare wood underneath depending on the height the shelf will go.
Once cut I used my ever faithful large pot of Mod Podge to glue the material to the wood, and it went on nice and smoothly. I could have left the shelf as is, but I decided to use my washi tape to finish off the edging.
 |
| Selecting washi tape |
 |
| Finished shelf |
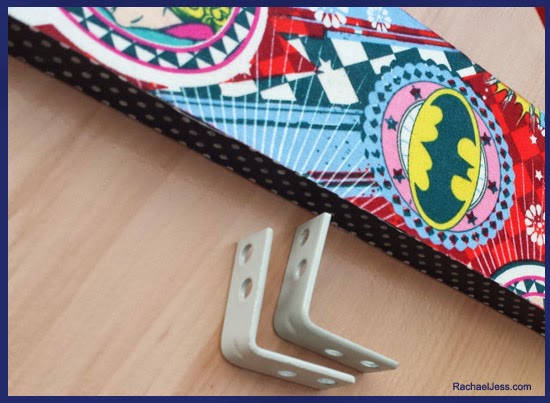 |
| Adding the finishing touches to make it a shelf |
Once I selected which side I wanted the POPs to sit on I attached the brackets to the underneath and placed on the wall. Just have the second shelf to do now.
 |
| 2 shelves made for a total of £10. |
 |
| Decorating the bottom of the shelf too |
 |
| New home for my POP! Vinyl |



This looks amazing! What a simple way of doing it too. I may have to have a go at this my self. There are not enough shelves in this house.
ReplyDeleteThanks Angela, I don't know why I didn't think about creating my own shelves years ago lol.
DeleteI'm sure yours would be fantastic.
Keep this going please, gdeat job!
ReplyDelete